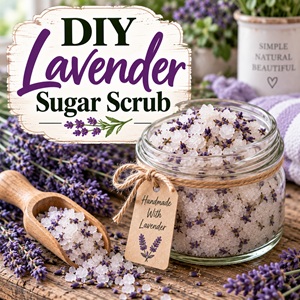
If you grow lavender in your garden, there are so many ways to use the flowers after you’ve harvested and dried them. One of my favorites is this simple DIY lavender sugar scrub.
This post may contain affiliate links.
It takes just a few minutes to mix together and makes a lovely homemade beauty product for your own bathroom—or an easy handmade gift.
I especially love using dried lavender from the garden because it turns something I grew myself into something useful that I can enjoy long after the flowers are gone.
What You Need
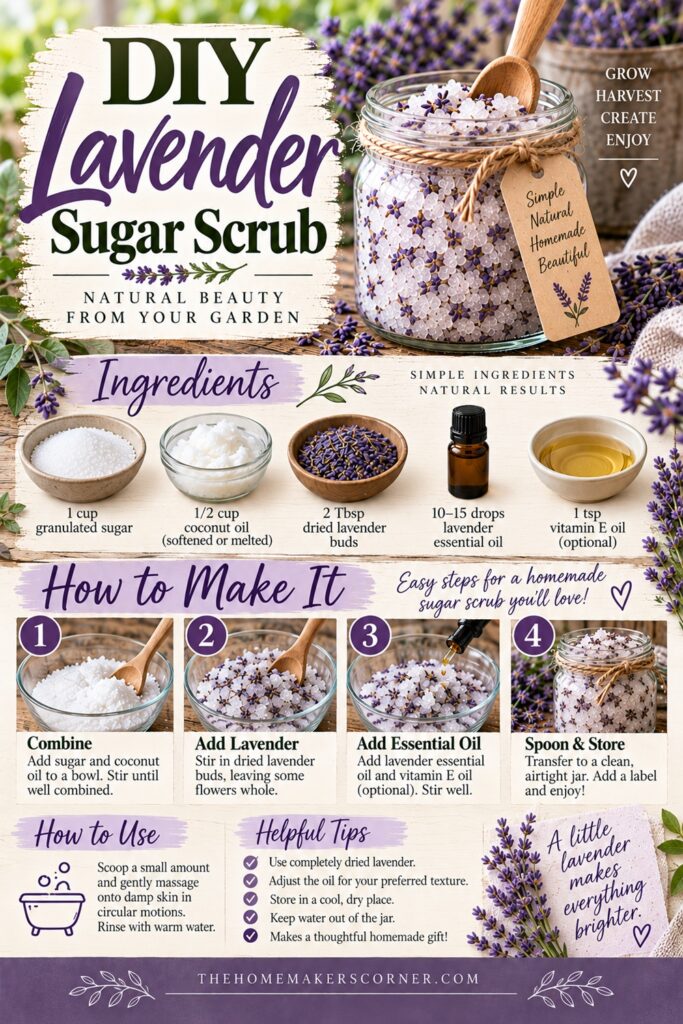
- 1 cup granulated sugar
- 1/2 cup coconut oil, softened or melted
- 2 tablespoons dried lavender buds
- 10–15 drops lavender essential oil
- 1 teaspoon vitamin E oil, optional
You’ll also need a small mixing bowl, spoon, and clean airtight jar.
A Note About the Oil
I like coconut oil because it gives the scrub a nice texture, but you can substitute another skin-friendly carrier oil such as sweet almond, jojoba, or grapeseed oil.
If you use coconut oil, let it cool slightly after melting before mixing everything together.
How to Make Lavender Sugar Scrub
1. Combine the Sugar and Oil
Add the sugar to a mixing bowl and pour in the coconut oil.
Want to try making your own jelly at home?
Get my free guide with 8 easy, beginner-friendly jelly recipes you can confidently make.
Stir until the sugar is evenly coated and the mixture has a soft, scoopable texture.
If it seems too dry, add a little more oil. If it’s too oily, add a little more sugar.
2. Add the Dried Lavender
Stir in the dried lavender buds.
I like leaving the lavender flowers relatively whole so you can see them throughout the scrub.
If you’re using lavender you’ve grown yourself, this is a perfect project for some of the harvest you’ve saved.
If you have a jar of dried lavender waiting in your pantry, you can read How to Store Dried Lavender for tips on keeping your harvest fragrant and dry.
3. Add Lavender Essential Oil
Add the lavender essential oil and stir thoroughly.
You don’t need a lot. The dried lavender already contributes fragrance, so a small amount of essential oil gives the scrub plenty of lavender scent.
If you have sensitive skin, you may want to use less essential oil or leave it out altogether.
4. Add Vitamin E Oil
Vitamin E oil is optional, but I like adding a small amount to homemade body products.
Stir it thoroughly into the mixture.
5. Spoon Into a Jar
Transfer the finished sugar scrub into a clean, dry jar.
A small glass canning jar works beautifully.
Wipe the rim clean and put the lid on tightly. Add a simple label if you’re making it as a gift.
A little piece of twine around the jar makes it look especially pretty.
How to Use Lavender Sugar Scrub
Scoop a small amount of scrub into your hand and gently massage it onto damp skin using small circular motions.
Rinse thoroughly with warm water.
The sugar provides the exfoliating texture while the oil leaves your skin feeling soft.
I like using it on my hands, elbows, knees, and feet—areas that tend to get especially dry.
Don’t use a sugar scrub on broken, irritated, or sunburned skin.
And because the oil can make the tub or shower floor slippery, take a little care when rinsing.
Can You Use Fresh Lavender?
I recommend using completely dried lavender buds for this recipe.
Fresh lavender contains moisture, which isn’t ideal for a homemade sugar scrub you’re planning to keep in a jar.
If you have fresh lavender from your garden, make a few simple lavender bundles and let them dry completely first.
Once your lavender is dry, you can use the buds for all kinds of homemade projects, including this scrub.
How to Store Lavender Sugar Scrub
Keep your finished scrub in a clean, airtight container and store it somewhere cool and dry.
Try not to introduce water into the jar. Instead, scoop out what you need with clean, dry hands or a small spoon.
Because this recipe contains no added water or other fresh ingredients, keeping moisture out of the container is especially important.
I also prefer making smaller batches of homemade body products rather than making a huge jar that sits around for months.
Make It Into a Homemade Gift
Lavender sugar scrub makes a really pretty homemade gift.
Fill a small glass jar and add:
- A simple handwritten label
- A piece of twine or ribbon
- A small dried lavender bundle
- A wooden spoon
- A homemade gift tag
You could even put together a little lavender-themed gift basket with homemade sugar scrub, lavender bath salts, and dried lavender.
If you haven’t made the bath salts yet, DIY Lavender Bath Salts is another easy project that pairs perfectly with this one.
More Ways to Use Your Lavender Harvest
Once you start growing lavender, it’s easy to find more and more uses for it around the house.
You can make simple lavender bundles for decorating, save the dried flowers for potpourri, press the flowers for crafts, or use them in homemade beauty projects like this one.
I especially love the combination of growing → harvesting → drying → making something useful.
It’s one of the best things about having a cottage garden. The garden doesn’t stop being useful when the flowers finish blooming.
If you’re growing lavender specifically for projects like these, you might also enjoy The Best Place to Plant Lavender in Your Cottage Garden, When and How to Prune Lavender, and Can You Divide Lavender?
And if you have a big harvest, How to Make Lavender Potpourri is another fun way to use those dried flowers.
This lavender sugar scrub is one of those DIY projects that looks much more complicated than it actually is.
Mix the sugar and oil, stir in the dried lavender and essential oil, and put it in a jar.
That’s it.
And there’s something extra satisfying about opening the jar and knowing that the lavender inside came from your own garden.
A few simple ingredients can turn a garden harvest into something beautiful, useful, and completely homemade.
Follow my lavender board on Pinterest.