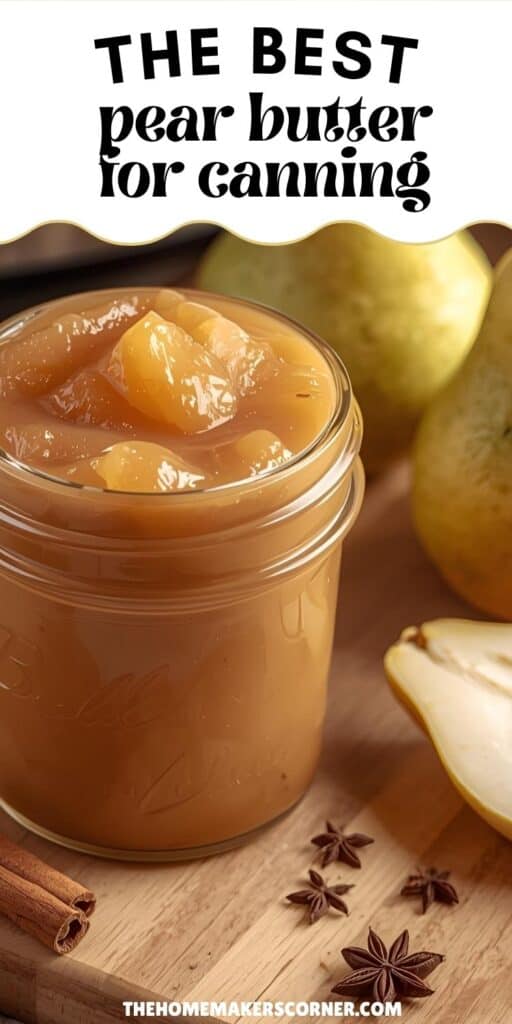
I always look forward to making homemade crock pot apple butter every fall. I never knew that pear butter was even a thing, but apparently a lot of people like it so I had to give it a try. It’s just as easy to make as apple butter, and tastes just as great!
This post may contain affiliate links.
You can prepare this pear butter recipe either in a crock pot or a large stock pot. I like using the crock pot because you can just leave it cooking all night and not have to worry about leaving it cooking on the stove.
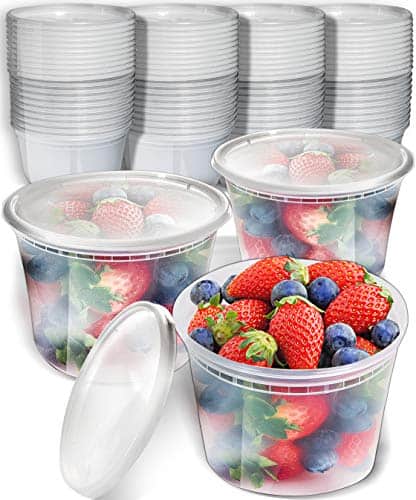
Note: You don’t have to can this recipe. You can freeze this pear butter in these inexpensive freezer containers.
Ingredients for Pear Butter
- 7 lbs. pears, peeled and chopped
- 1/2 c. orange juice
- 4 c. sugar
- 1 tbsp. vanilla extract
- 1 tsp. nutmeg
Want to try making your own jelly at home?
Get my free guide with 8 easy, beginner-friendly jelly recipes you can confidently make.
How To Make Pear Butter
The pears don’t need to be chopped into small pieces. Just make sure you remove the cores and seeds of the pears. I cut my pears into large chunks.
Place the chopped pears and orange juice into a crock pot and turn the crock pot on high. It will take an hour or so for the pears to be cooked all the way through.
Related Article: How to Quickly Ripen Pears
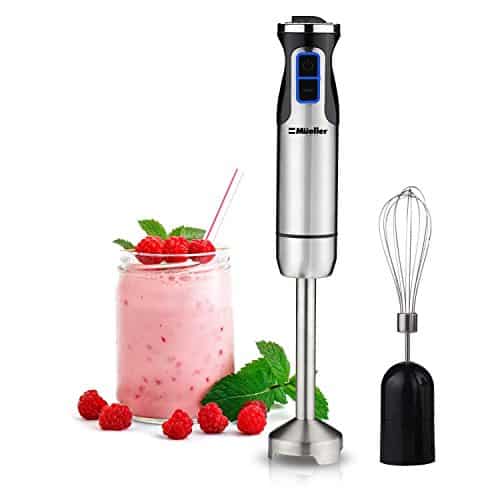
When the pears are soft, use an immersion blender to completely blend the pears until they are the consistency of applesauce.
You can also use a food processor or blender to do this, but you can do it right in the crock pot with the immersion blender.
After the pear sauce is blended, stir in the sugar, vanilla extract, and nutmeg.
Turn the crock pot to low and let it cook down over night or at least 8 hours, until the pear butter reaches the desired consistency. It will get thicker the longer you let it cook.
Related Article: Best Pears for Canning: A Guide to the Juiciest and Most Flavorful Varieties
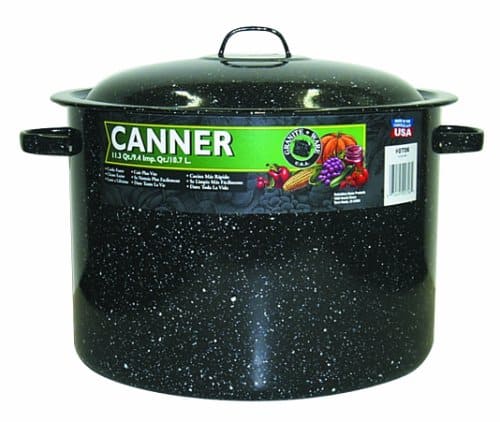
Granite Ware Covered Preserving Canner with Rack, 12-Quart Mueller Ultra-Stick 500 Watt 9-Speed Powerful Immersion Multi-Purpose Hand Blender Heavy Duty Pure Copper Motor Brushed Stainless Steel Finish Includes Whisk AttachmentPrepworks by Progressive Canning Funnel for Regular and Wide Mouth Jars50pk 16oz Small Plastic Containers with Lids – Freezer Containers Deli Containers with Lids – Plastic Food Storage Containers with lids Plastic Food Containers with Lids Plastic Container
Canning Instructions
Sterilize your jars, lids, and rings by running them through a quick rinse cycle in the dishwasher.
Fill a boiling water canner half full of water and bring the water to a boil.
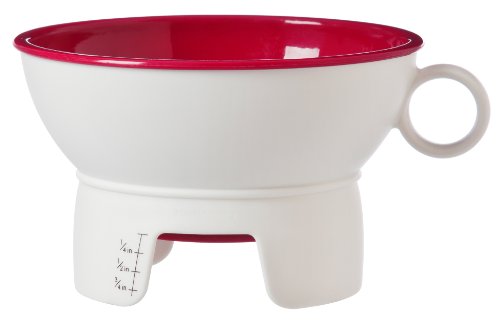
Fill the sterilized jars with pear butter, leaving 1/2 inch head space. You can easily measure the head space with this inexpensive canning funnel.
Use a damp paper towel or kitchen towel to wipe the rims of the jars. Place the lids and rings on the jars finger tight.
Put the jars in the boiling water canner, and make sure that there is 1-2 inches of water above the jars. Bring the water to a boil and process the jars for 10 minutes.
Remove the jars from the canner and place them on the kitchen counter to cool. Sealed jars can be stored in your pantry for 1-2 years.
Like this recipe? You might also like my recipe for pumpkin butter.
Related Canning Recipes
- Crock Pot Apple Butter
- Crock Pot Cranberry Butter
- Canning Pear Jelly
- Canning Pear Sauce
- How to Can Cinnamon Pears
- Cranberry Pear Jam
Follow my canning recipes board on Pinterest.