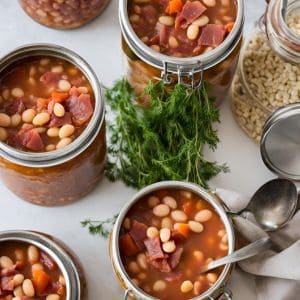
Pressure canning bean and ham soup is a great way to preserve a hearty meal for later. This method allows you to store the soup for months without losing flavor or nutrition. You can easily create a delicious and convenient meal that is ready whenever you need it.
This post may contain affiliate links.
Using a pressure canner ensures that your soup is safely sealed and can be stored at room temperature. This process prevents spoilage and makes meal prep simpler. Imagine having homemade soup available during busy weeks or chilly days.
Whether you are new to pressure canning or have some experience, this guide will help you understand the steps needed to make your own bean and ham soup. Get ready to enjoy a tasty recipe that stands the test of time.
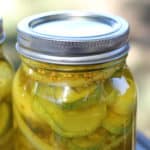
Related Article: Canning Beef Stew: A Step-by-Step Guide to Preserving Comfort Food
Understanding Pressure Canning
Pressure canning is a method used to preserve low-acid foods. It uses high pressure and temperature to kill harmful bacteria, making the food safe for storage. This process is crucial for ensuring your bean and ham soup stays fresh and safe to eat.
Related Article: Canning Pulled Pork: A Beginner’s Guide
Principles of Pressure Canning
Pressure canning works by increasing the boiling point of water. When the pressure inside the canner rises, it allows the temperature to exceed 212°F (100°C). This higher temperature effectively destroys bacteria, molds, and yeasts.
You must prepare your food properly before canning. This includes washing, cutting, and packing the ingredients, ensuring even heating.
Make sure you follow a tested recipe to get the timing right, as cooking time varies based on altitude and the contents of the jar.
Related Article: Canning Mushrooms: A Simple Guide to Preserving Flavor and Freshness
Equipment and Safety
You need specific equipment for pressure canning. The main item is a pressure canner, which can be stove-top or electric. Always check that your canner is in good condition and functioning properly.
Safety is a priority in pressure canning. Always use jars designed for canning and check that they are free from cracks. Use new lids each time, as old ones may not seal properly.
After canning, let the jars cool completely to ensure a tight seal, and check for any signs of spoilage before consuming.
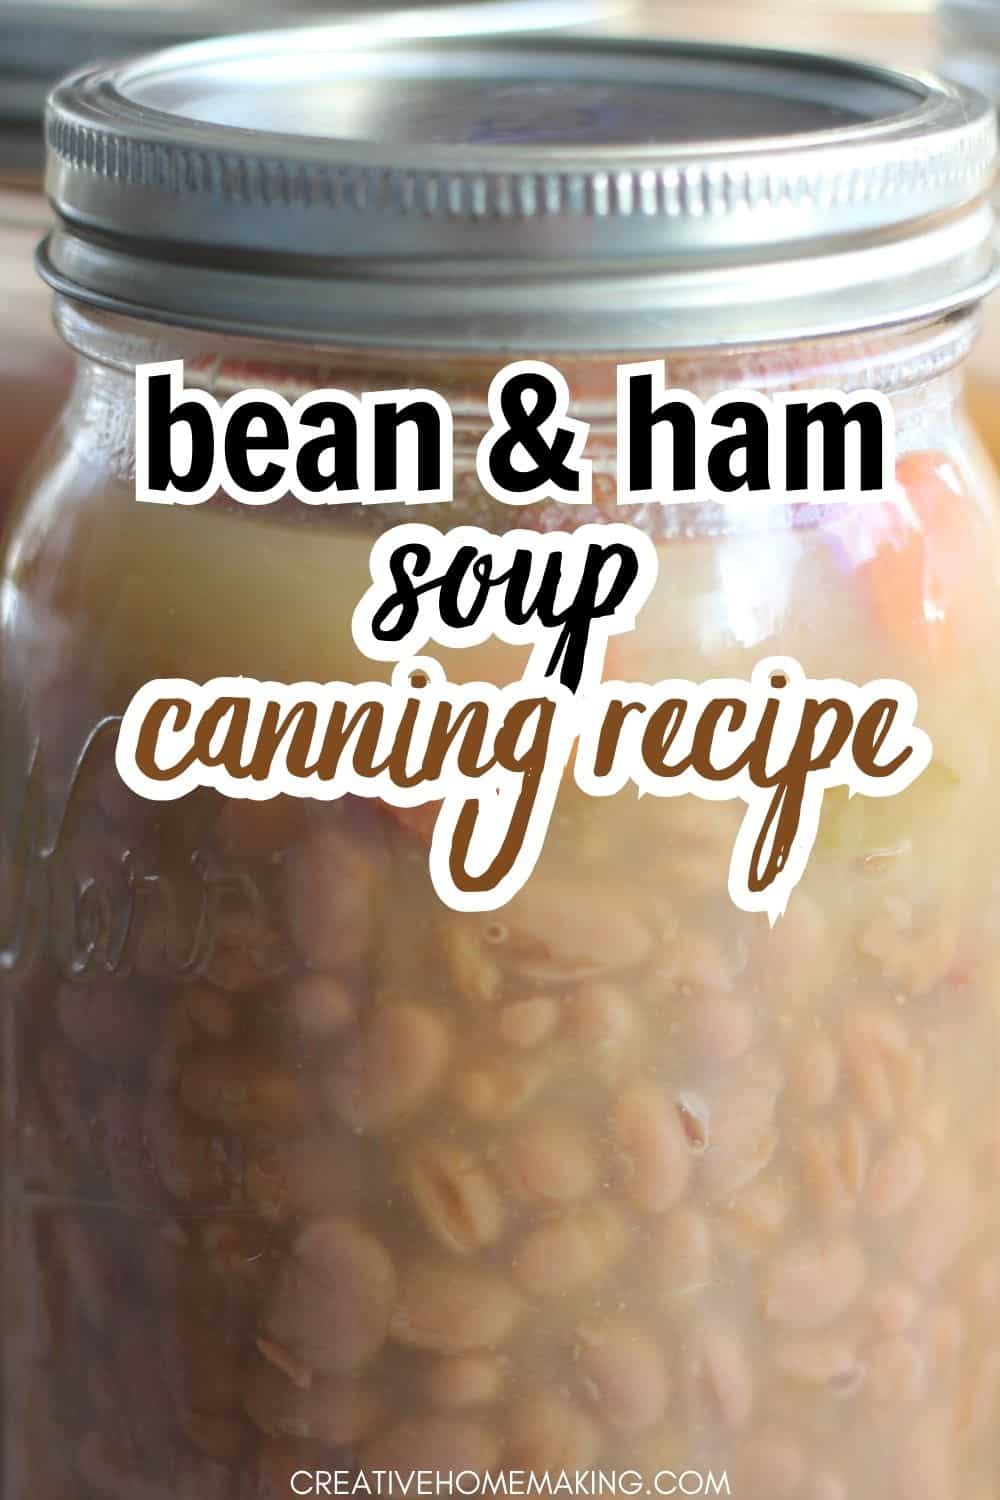
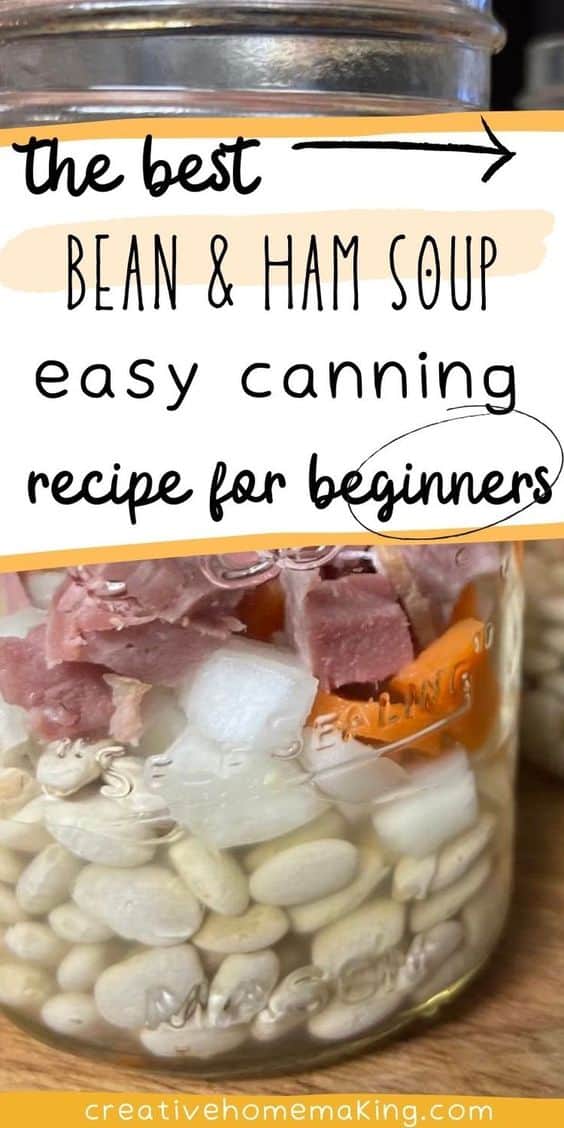
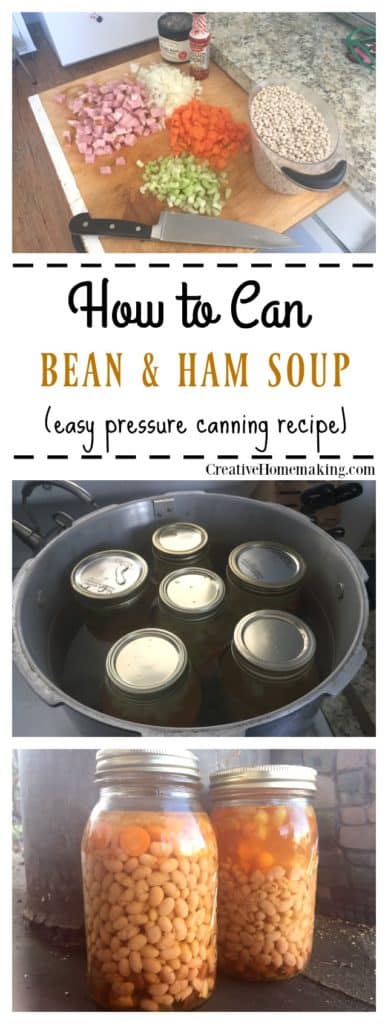
Bean and Ham Soup Canning Recipe
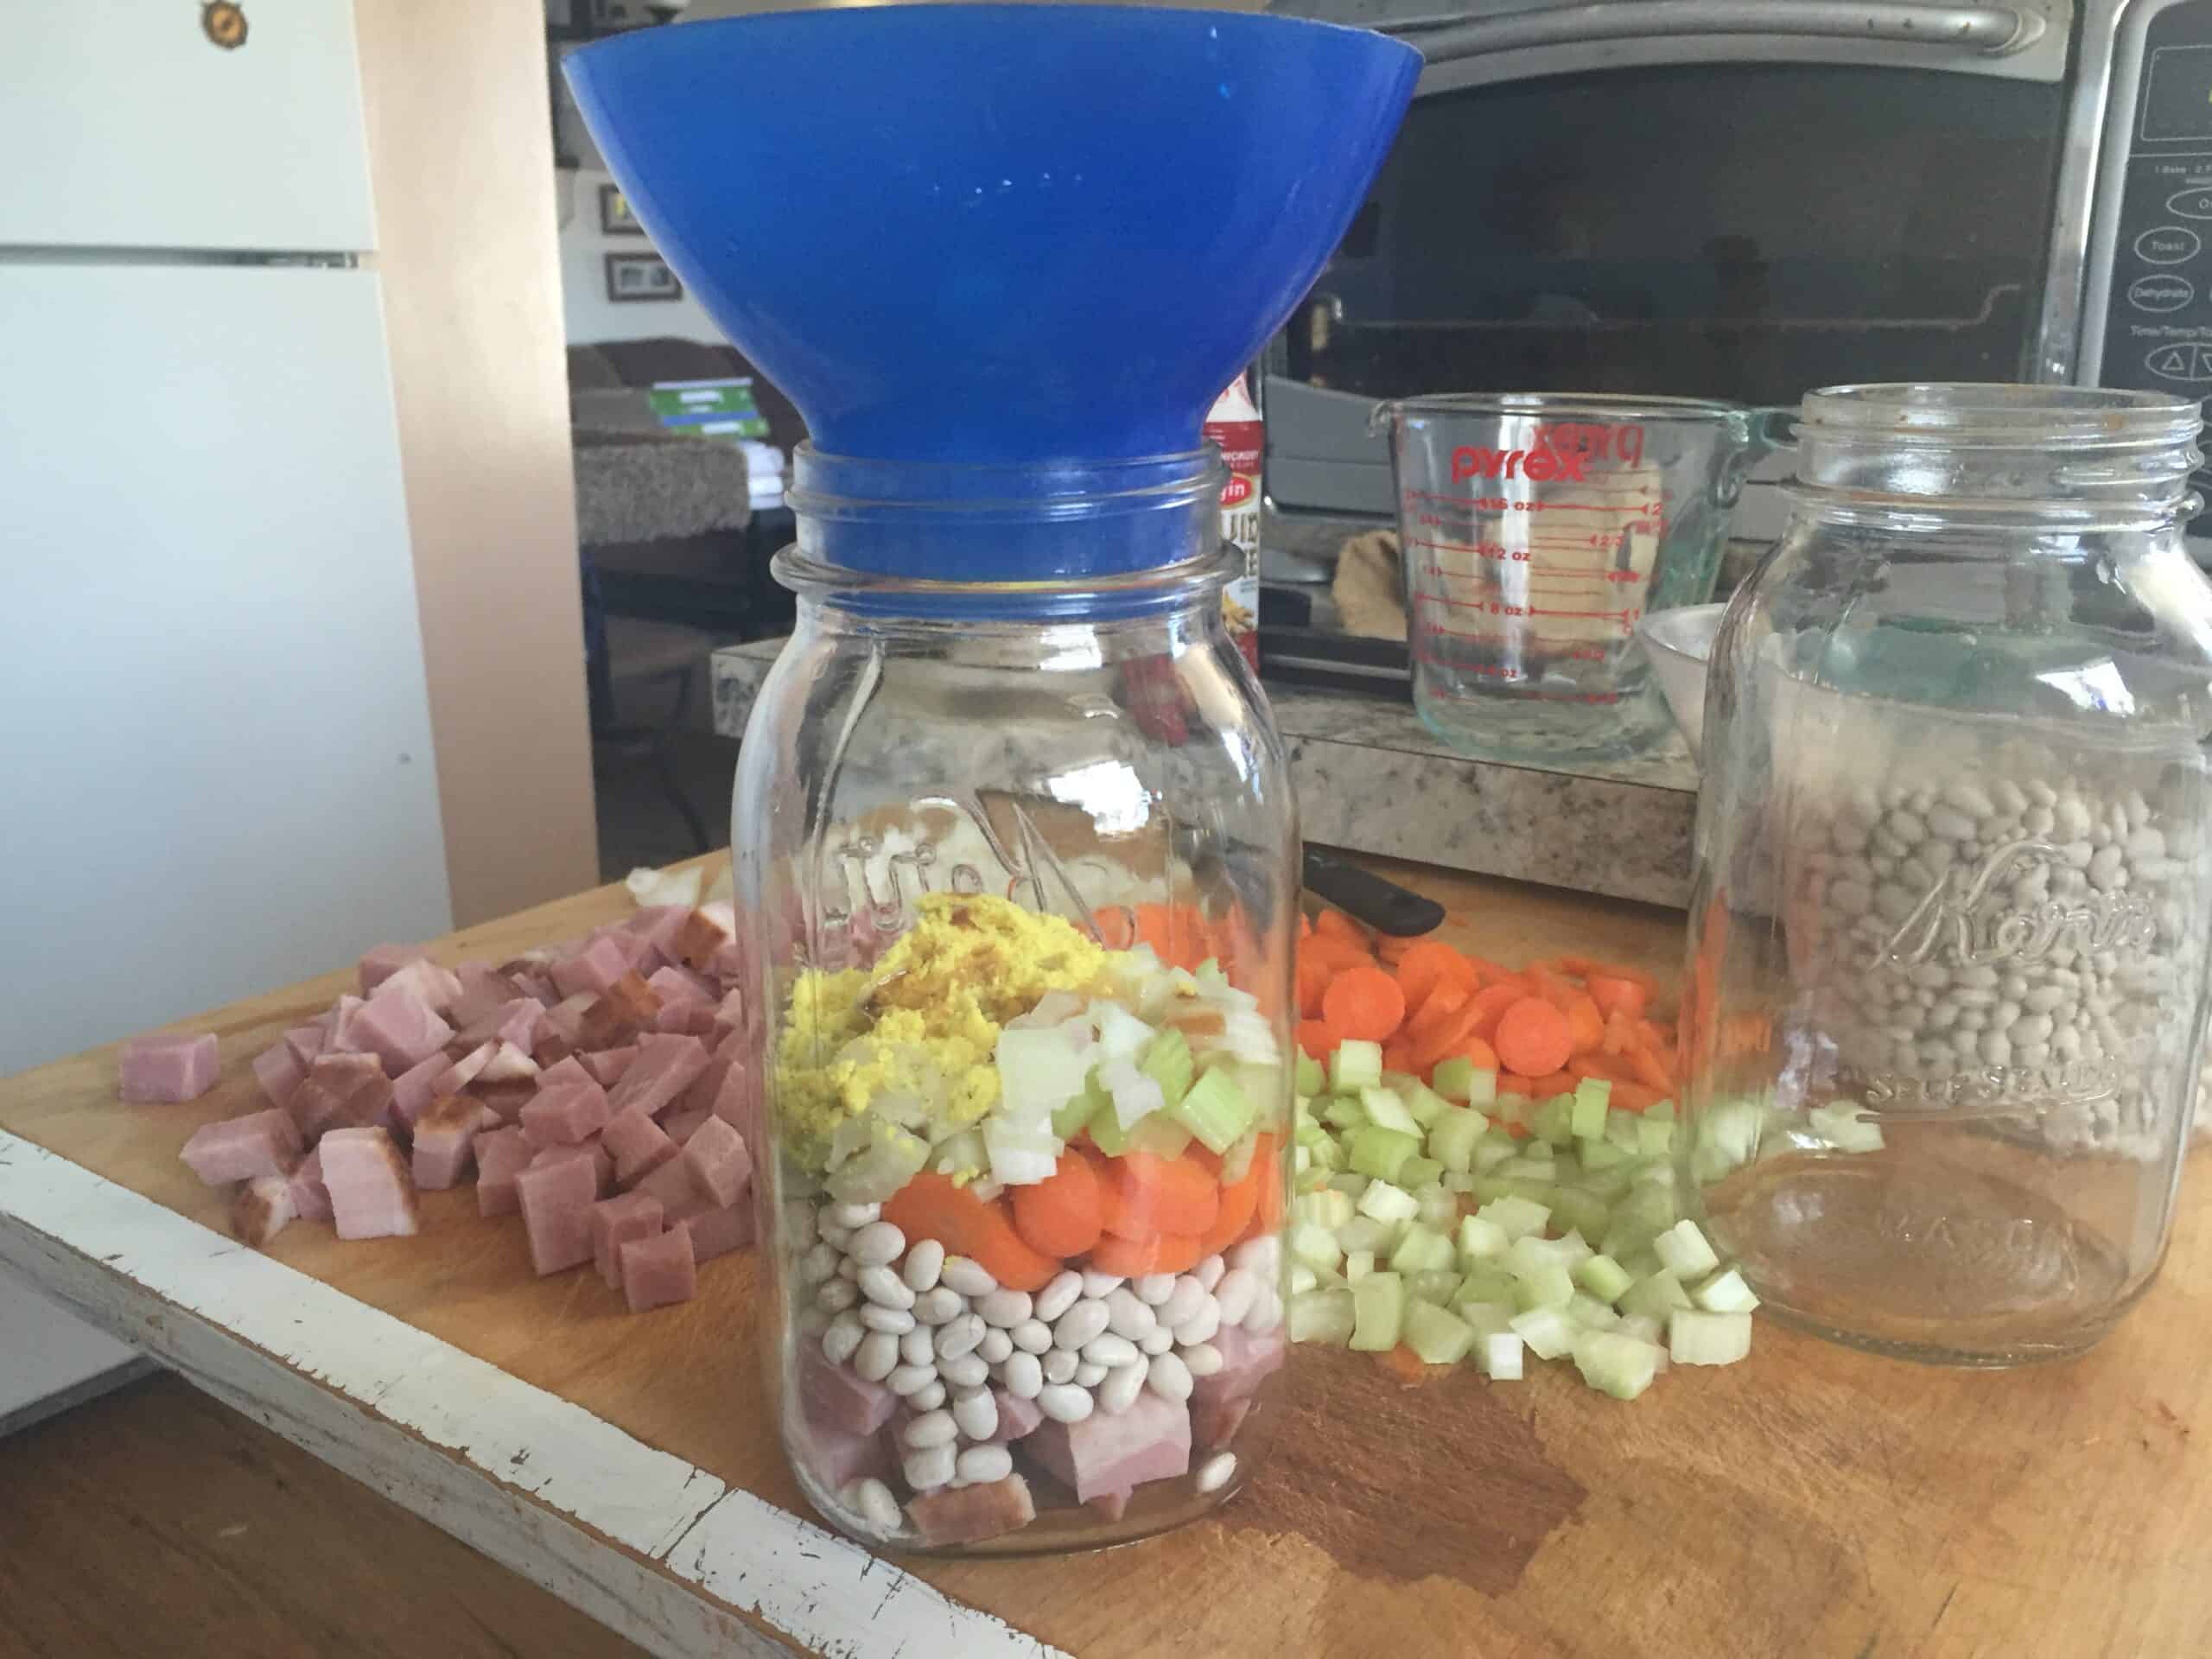
Ingredients (per quart jar):
3/4 c. dried white beans
3 tbsp. chopped ham
1 tbsp. chopped onion
1 tbsp. chopped carrot
3 tsp. chopped celery
2 tsp. chicken bouillon
1/4 tsp. salt or liquid smoke
Filling and Sealing Jars
Prepare your canning jars, lids, and rings. Make sure they are clean. You can sterilize them by running them through a quick rinse in the dishwasher.
Rinse the beans. Place 3/4 c. dried beans in each jar. Add ham, chopped onion, chopped carrots, celery, chicken bouillon, and salt to each jar.
Fill the remainder of the jars with boiling water, leaving 1 inch head space. You can easily measure the headspace with this inexpensive canning funnel.
Wipe the rims with a clean cloth to ensure a good seal. Place a sterilized lid on each jar, followed by the band. Tighten the band until it is fingertip-tight. This helps to keep the seal without restricting air flow.
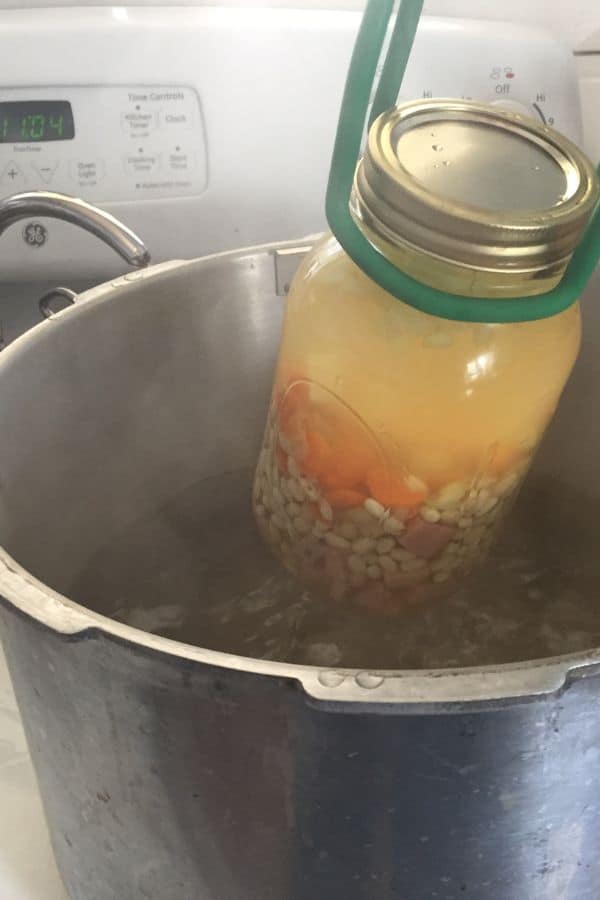
Pressure Canning Process
Fill your pressure canner with a few inches of water, following the manufacturer’s instructions. Place the jars inside the canner, making sure they do not touch each other. Lock the lid in place and heat the canner until it reaches a steady pressure.
Process at 10-11 pounds of pressure (depending on your altitude; adjust accordingly) for 75 minutes for pint jars and 90 minutes for quart jars. Once the time is up, turn off the heat and let the pressure drop naturally before opening.
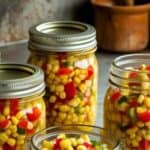
Related Article: Canning Vegetable Broth or Stock
Cooling and Storage
After removing the jars from the canner, place them on a clean, dry towel or cooling rack. Leave them undisturbed for 12 to 24 hours. This allows the jars to cool completely and helps ensure a proper seal.
After cooling, check the lids. They should not flex when pressed in the center. Label the jars with the date and contents. Store them in a cool, dark place. Properly canned soup can last for one to two years.
Yield: Varies
Step by Step Canning Video
New to pressure canning? This video shows me preparing this recipe step by step.
Follow my canning and preserving board on Pinterest.
In case you missed it: