
Growing oregano from cuttings is one of the easiest ways to multiply your favorite herbs without buying new plants.
This post may contain affiliate links.
Instead of starting from seed, you can root healthy stems from an existing oregano plant and quickly grow new plants for your kitchen garden, containers, or cottage garden.
With just a few simple supplies and a little patience, you’ll have fresh oregano ready to harvest in just a few weeks.
Why Grow Oregano from Cuttings?
Growing oregano from cuttings offers several advantages over starting from seed.
- Produces plants identical to the parent plant
- Roots quickly and easily
- Faster than growing from seed
- Inexpensive way to grow more herbs
- Great for sharing with friends and family
If you’re new to growing oregano, you’ll also enjoy How to Grow Oregano in Pots for Fresh Herbs All Season.
The Best Time to Take Oregano Cuttings
The ideal time to take oregano cuttings is:
- Late spring
- Early summer
- Early fall in mild climates
Choose healthy stems with fresh green growth and avoid flowering stems whenever possible.
Want to try making your own jelly at home?
Get my free guide with 8 easy, beginner-friendly jelly recipes you can confidently make.
Supplies You’ll Need
- Healthy oregano plant
- Clean pruning shears
- Small pots
- Well-draining potting mix
- Rooting hormone (optional)
- Water
- Plastic bag or humidity dome (optional)
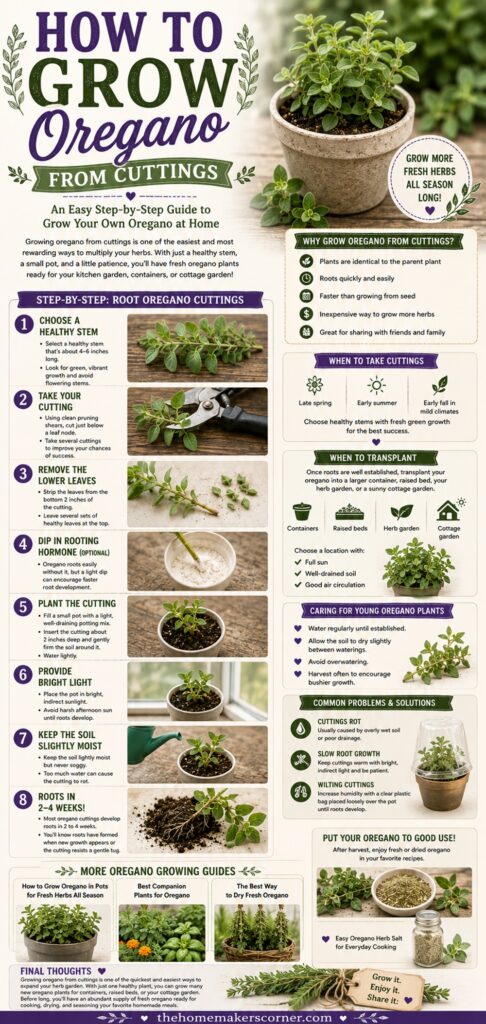
Step 1: Choose a Healthy Stem
Select a healthy stem that’s about 4 to 6 inches long.
Look for vigorous green growth that’s free of disease or insect damage.
Step 2: Take Your Cutting
Using clean pruning shears, cut just below a leaf node.
Take several cuttings to improve your chances of success.
Step 3: Remove the Lower Leaves
Strip the leaves from the bottom 2 inches of each cutting.
Leave several sets of healthy leaves at the top.
Step 4: Dip in Rooting Hormone (Optional)
Oregano usually roots very easily, even without rooting hormone.
However, a light dip can encourage faster root development.
Step 5: Plant the Cutting
Fill a small pot with a light, well-draining potting mix.
Insert the cutting about 2 inches deep and gently firm the soil around the stem.
Water lightly.
Step 6: Provide Bright Light
Place the pot in bright, indirect sunlight.
Avoid harsh afternoon sun until roots develop.
Step 7: Keep the Soil Slightly Moist
Keep the soil lightly moist but never soggy.
Too much water can cause the cutting to rot before roots develop.
How Long Does Oregano Take to Root?
Most oregano cuttings develop roots within 2 to 4 weeks.
You’ll know roots have formed when you notice fresh new growth or the cutting resists a gentle tug.
When to Transplant
Once the roots are well established, transplant your oregano into:
- Larger containers
- Raised beds
- Your herb garden
- A sunny cottage garden
Choose a location with:
- Full sun
- Well-drained soil
- Good air circulation
Caring for Young Oregano Plants
After transplanting:
- Water regularly until established.
- Allow the soil to dry slightly between waterings.
- Avoid overwatering.
- Harvest often to encourage bushier growth.
Common Problems
Cuttings Rot
Usually caused by overly wet soil or poor drainage.
Slow Root Growth
Keep cuttings warm with bright, indirect light and be patient.
Wilting Cuttings
Increase humidity with a clear plastic bag placed loosely over the pot until roots develop.
More Oregano Growing Guides
Learn even more about growing oregano with these helpful articles:
- How to Grow Oregano in Pots for Fresh Herbs All Season
- Best Companion Plants for Oregano
- The Best Way to Dry Fresh Oregano
Once you’ve harvested your oregano, put it to good use with:
Growing oregano from cuttings is one of the quickest and easiest ways to expand your herb garden.
With just one healthy plant, you can grow several new oregano plants for containers, raised beds, or your cottage garden.
Before long, you’ll have an abundant supply of fresh oregano ready for cooking, drying, and seasoning your favorite homemade meals.
Follow my kitchen garden living board on Pinterest.