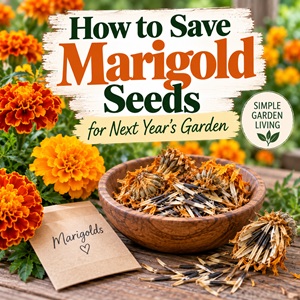
If you have marigolds growing in your garden, you already have everything you need to grow more next year.
This post may contain affiliate links.
Saving marigold seeds is one of the easiest ways to keep your favorite flowers coming back year after year. Instead of buying new packets of seeds every spring, you can collect seeds from the flowers you already grew.
It’s simple, doesn’t require any special equipment, and it’s a great little fall garden project.
When to Collect Marigold Seeds
The best time to collect marigold seeds is in late summer or fall, after the flowers have finished blooming and the flower heads have dried on the plant.
Don’t pick the flowers while they’re still fresh and colorful. The seeds need time to mature.
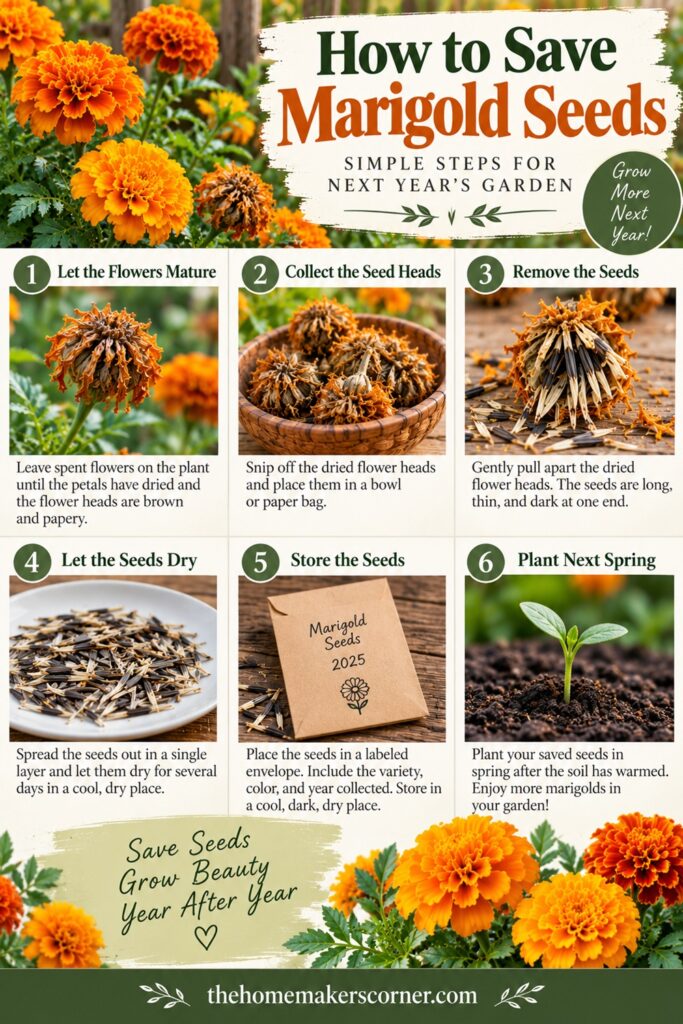
Leave the spent flowers on the plant until the petals have faded and the flower heads become dry and brown.
You’ll know they’re getting close when the entire flower head feels dry and the petals have shriveled.
Want to try making your own jelly at home?
Get my free guide with 8 easy, beginner-friendly jelly recipes you can confidently make.
How to Tell If Marigold Seeds Are Ready
A mature marigold seed head will be dry and papery.
The seeds are tucked inside the dried flower head and are usually long, thin, and dark at one end.
If you gently pull apart a dried flower head, you should be able to see the seeds inside.
If the flower head is still green or soft, leave it on the plant for a little longer.
How to Collect Marigold Seeds
You don’t need much to collect marigold seeds.
You’ll need:
- Dried marigold flower heads
- A paper bag or bowl
- A paper plate or shallow tray
- A small envelope or container for storage
- A pen for labeling
1. Choose your best flowers
Start with healthy marigold plants that produced the flowers you liked best.
If you have several colors or varieties growing, collect the seeds separately and label them. This gives you a better chance of remembering what you planted.
One thing to keep in mind is that saved seeds from hybrid varieties may not produce flowers that are identical to the parent plant. You may get some fun surprises!
2. Let the flowers dry on the plant
This is the most important part.
Allow the spent flowers to remain on the plant until they are completely dry.
If your fall weather is rainy, you can cut mature, partially dried flower heads and bring them indoors to finish drying.
3. Remove the dried flower heads
Once the flower heads are dry, snip them off the plant with clean scissors or garden pruners.
Drop them into a paper bag or bowl as you work.
4. Pull out the seeds
Hold a dried flower head over your tray or piece of paper and gently pull it apart.
The marigold seeds should come loose fairly easily.
They are usually long and narrow, with a darker tip.
Remove any large pieces of dried petals or flower material, but don’t worry about getting every tiny bit of chaff out.
5. Let the seeds dry
If the seeds aren’t completely dry after you’ve removed them from the flower heads, spread them out in a single layer on a plate or piece of paper.
Leave them somewhere cool, dry, and well ventilated for several days.
Make sure they’re completely dry before storing them.
How to Store Marigold Seeds
Once the seeds are completely dry, place them in a paper envelope.
Label the envelope with the:
- Marigold variety
- Flower color
- Year collected
Then place the envelopes somewhere cool, dark, and dry.
A sealed container can provide additional protection from humidity, especially if you live somewhere damp.
The biggest thing to remember is moisture is the enemy of stored seeds. Make sure your seeds are thoroughly dry before putting them away.
Can You Plant Saved Marigold Seeds Next Spring?
Absolutely.
When spring arrives and the soil has warmed, you can plant your saved marigold seeds directly in the garden or start them indoors.
Follow the planting instructions for the particular marigold variety you’re growing, since different types can vary in size and growing requirements.
And don’t be surprised if your garden looks a little different next year. When you save seeds from certain hybrid or cross-pollinated plants, the resulting flowers may have some variation from the original plants.
That’s part of the fun of saving your own seeds.
Save Seeds From More Than Marigolds
Once you start saving flower seeds, you’ll probably start looking at those dried flowers in your garden a little differently.
Instead of cutting everything back immediately, leave some of your best flowers standing long enough for the seeds to mature.
Coneflowers are another excellent flower for seed saving. Learn How to Collect Coneflower Seeds for Next Year’s Garden and you’ll have another easy way to grow more flowers from your own garden.
Zinnias are especially easy to save, too. See How to Save Zinnia Seeds for Next Year’s Garden for another simple seed-saving project.
And if you grow calendula, you can preserve those flowers for more than just their seeds. Learn How to Dry Calendula From Your Garden.
You can also learn how to How to Dry Rose Petals and preserve some of the beauty from your summer garden.
Make Fall Seed Saving a Garden Habit
Saving seeds doesn’t have to be complicated.
As your garden starts winding down for the season, leave a few of your favorite flowers on the plants and let them finish their natural cycle.
Collect the mature seeds, let them dry thoroughly, label them, and tuck them away for spring.
It’s a small fall garden task, but there’s something really satisfying about opening an envelope of seeds next spring and knowing they came from flowers you grew yourself.
That’s one of the things I love about simple garden living. The garden gives you a little more to work with every season.
Follow my fall garden living board on Pinterest.